Announcement

Collapse
No announcement yet.

And so the teardown begins...

Collapse
X
 
  • Filter
  • Time
  • Show
Clear All
new posts

  • PRY4SNO
    replied
    Re: And so the teardown begins...

    Originally posted by RONDAL View Post
    liquid wrench, heat, 4' breaker bar.
    i too did the screwdriver trick in the brakes.

    good mcguyver skills on that one
    Thanks, but I can't take credit for the "McGuyver skills" as the idea came from Mike. Not to mention:


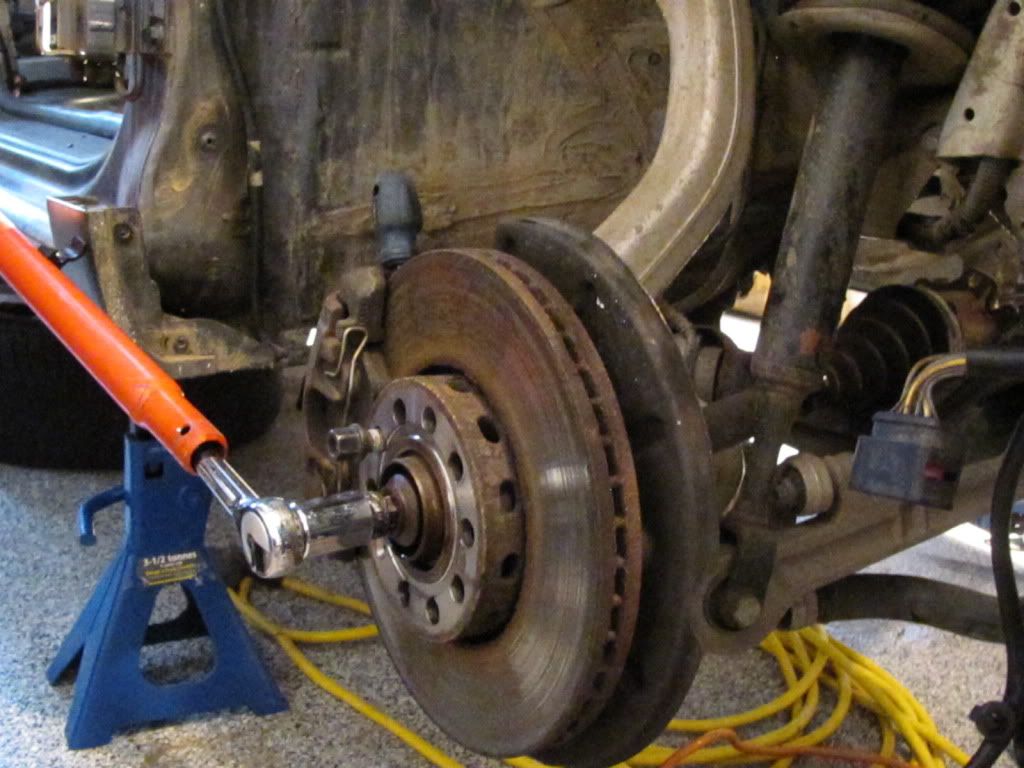
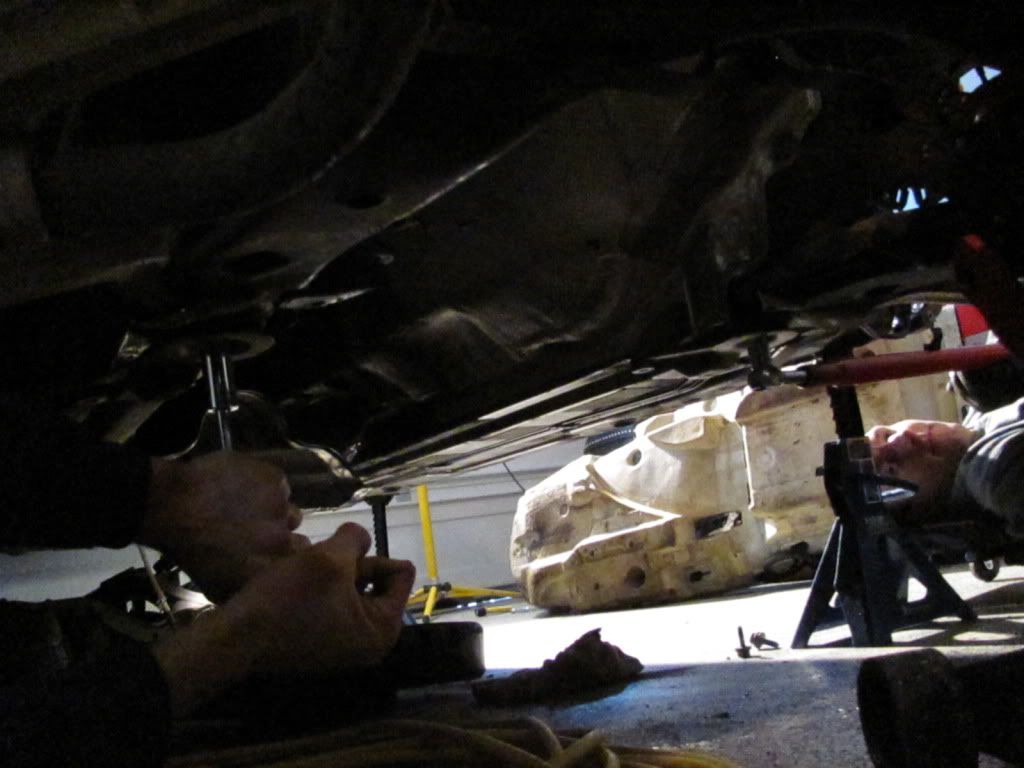
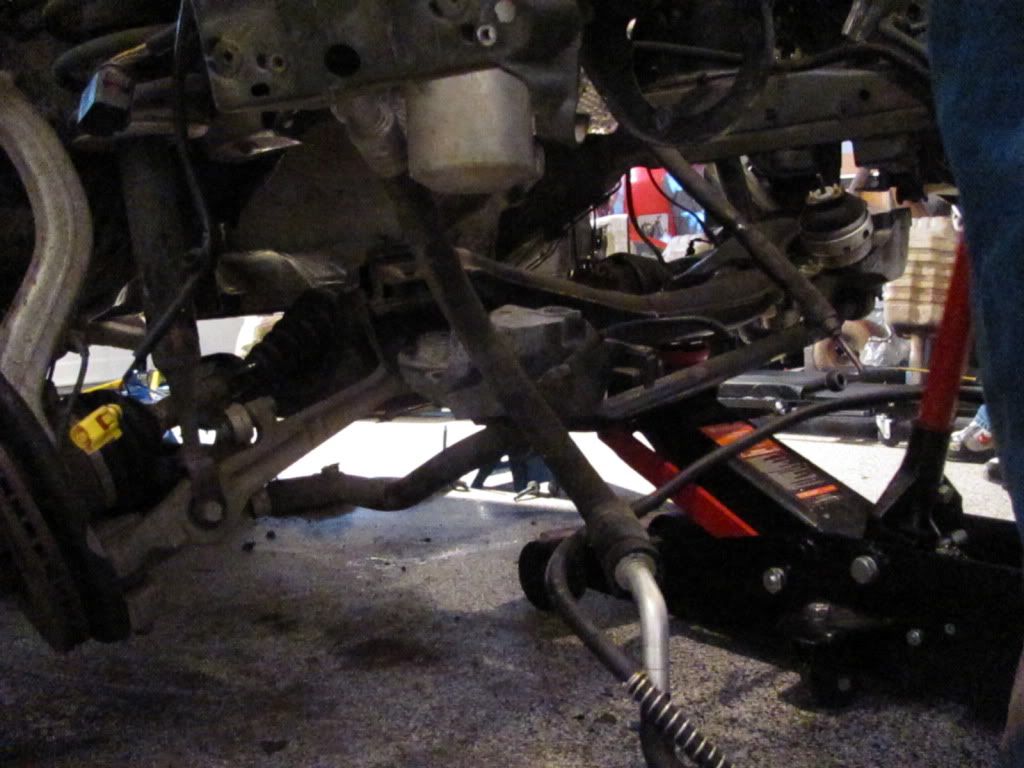
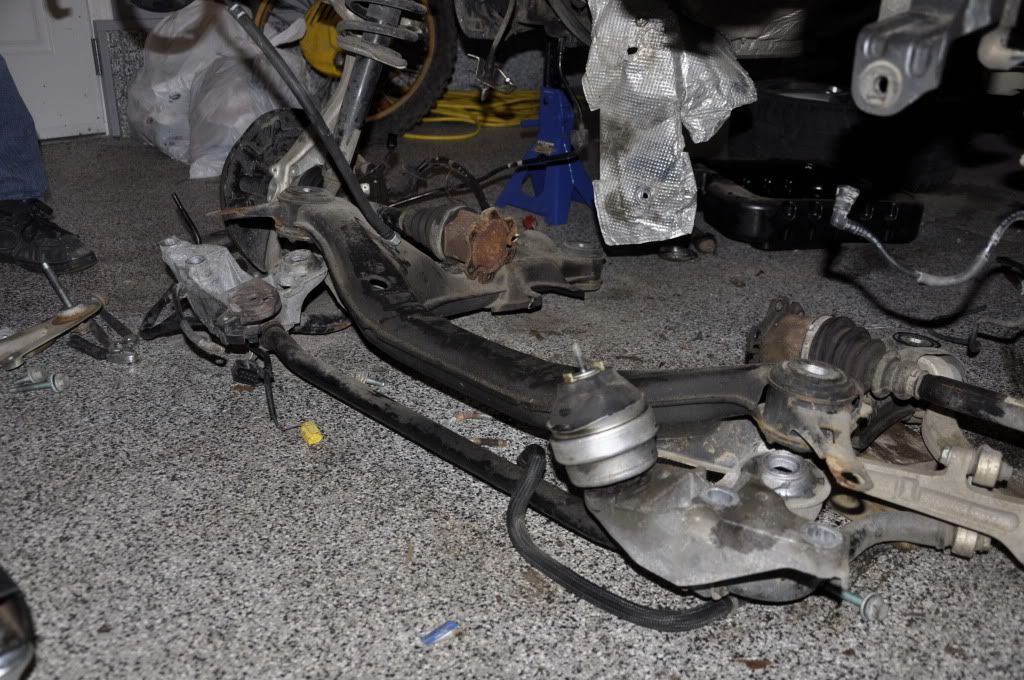
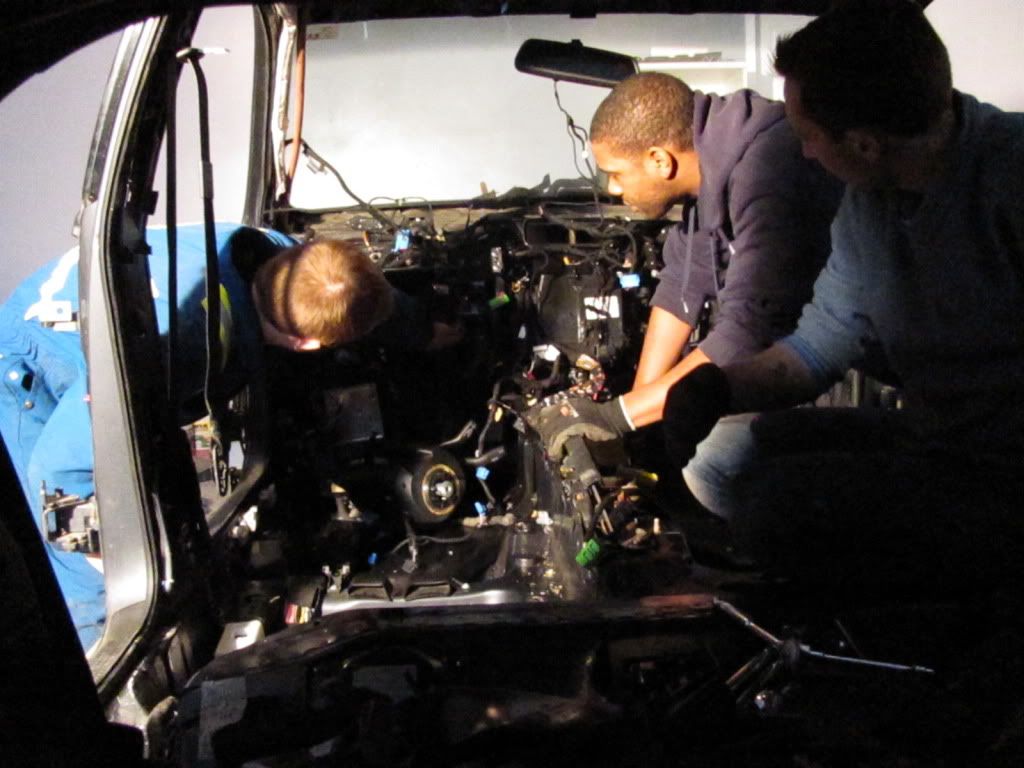
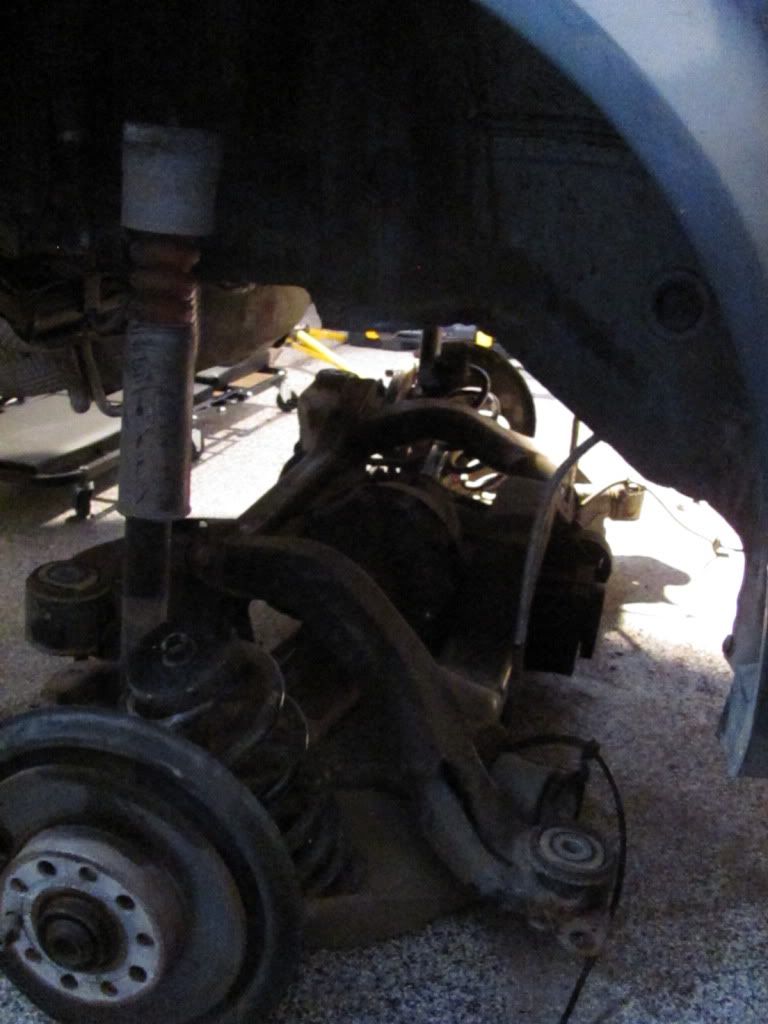
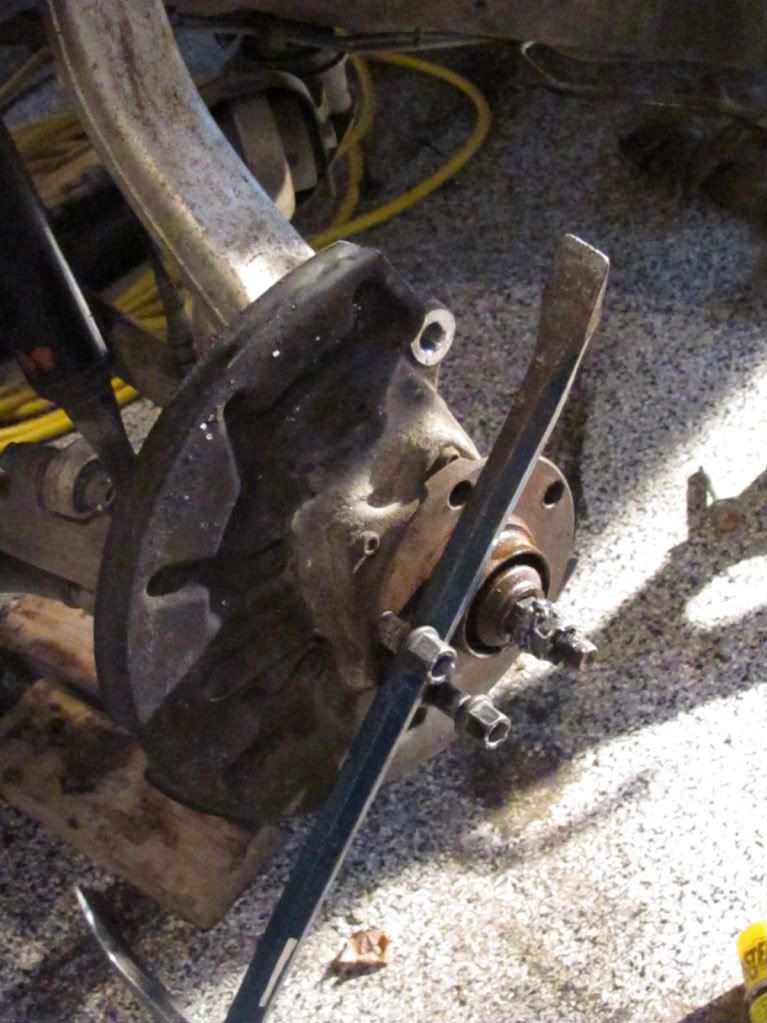
    Eddie sped things up by suggesting to drop the subframe to get at the drivetrain instead of doing it piece by piece. Four bolts. Done.


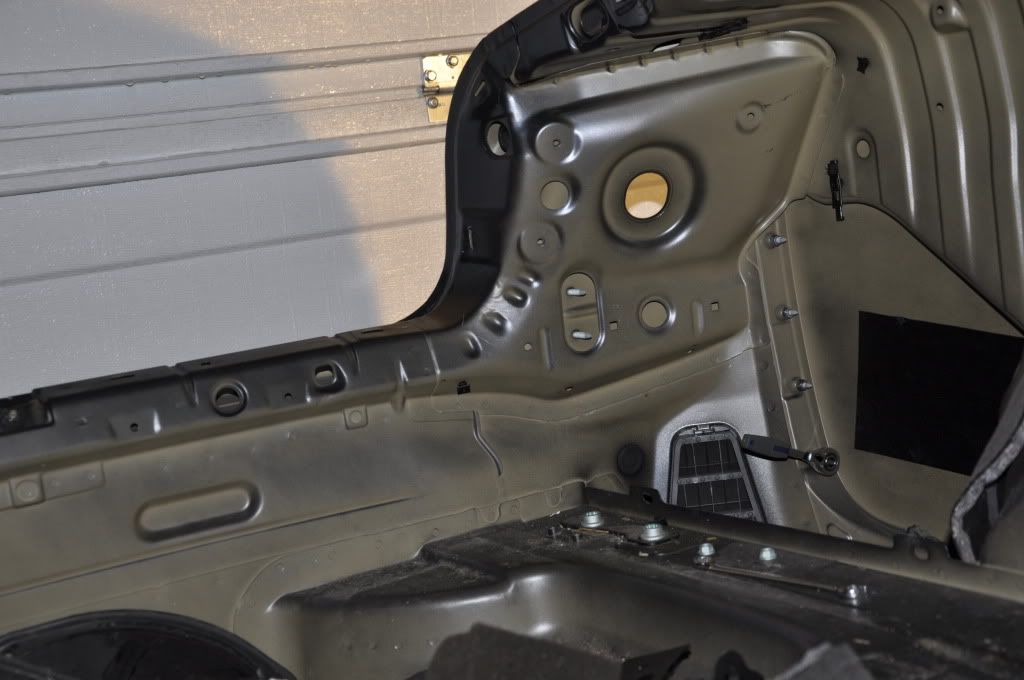
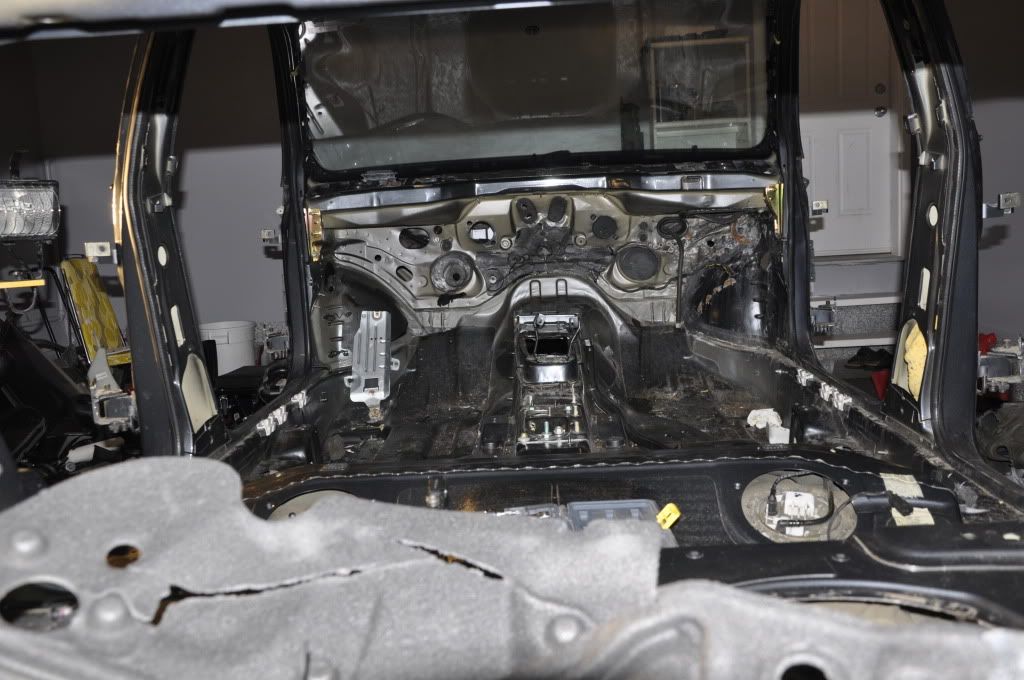
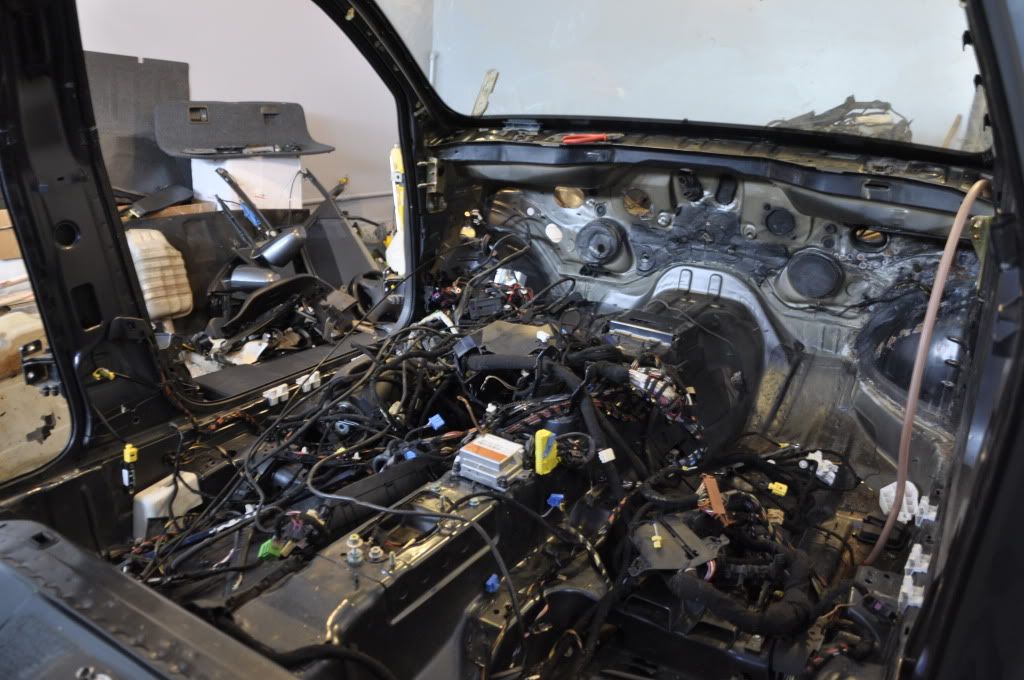
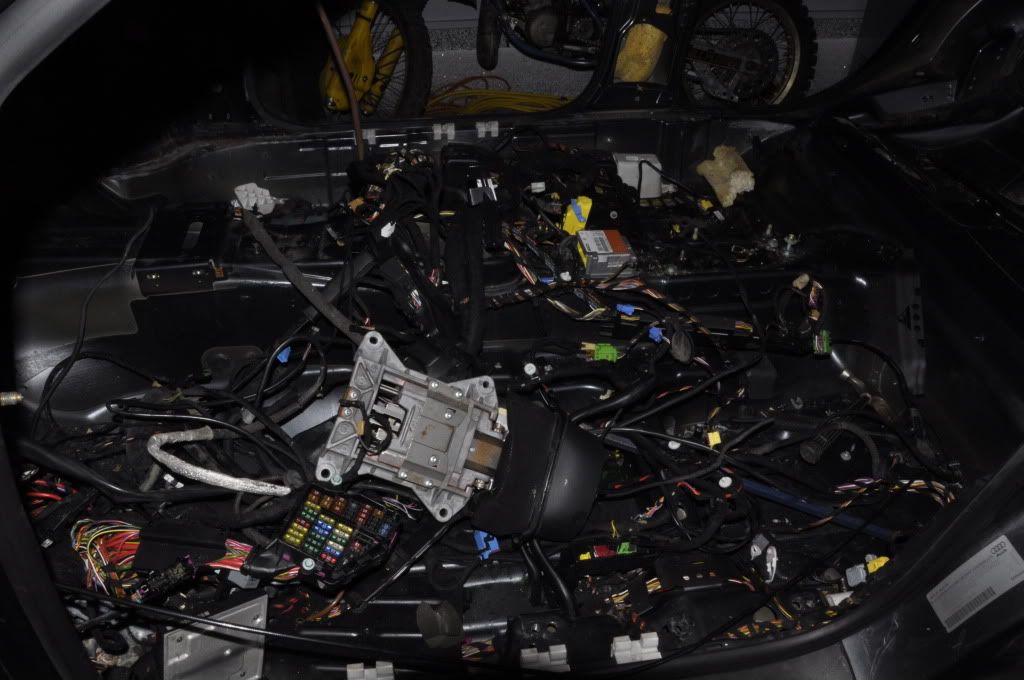
    Once the wiring harness was pulled and all the shiny bits removed it was down to removing the rear bumper and the car was down to a shell.


    On a sidenote, I wonder what the chances are I could find some tie rods to fit so I could try and use this badboy on the coupe and save me a G plus.
    Last edited by PRY4SNO; 01-30-2011, 02:56 AM.

    Leave a comment:


  • PRY4SNO
    replied
    Re: And so the teardown begins...

    Originally posted by All_Euro View Post
    Now that the teardown A4 is out how about some pics of the buildup A4... muscle your way into the garage and do it up
    Odds are I'll have to shovel the car out from under 6'-10' of snow before any new photos as the A4 hasn't moved from where it's sat since Thanksgiving (sorry Chris!).

    When the time comes to swap the motor, delete the emissions and swap the interior & headlights I'll document the whole process more meticulously. This was a dry run, and now have a few insights that will make things more straightforward next time for sure.

    For now I'll have to see what I can do to help the ol' boy get his control arms swapped as he's finding this DIY BS isn't really always so straightforward as it is from the keyboard.

    Leave a comment:


  • PRY4SNO
    replied
    Re: And so the teardown begins...

    Originally posted by The_Jerbel View Post
    Have somebody press the brake pedal before you pull the front brakes off and brake the axle bolt loose. It's easier than waiting until after the brakes are removed

    Did the parts pickup go okay, Dustin?
    Nice, I'll do that when I upgrade the CQ.

    Yeah, I went to Auto-Camping and scooped my loot no problem just need to get word about my oil pump from Alstrom.

    Leave a comment:


  • The_Jerbel
    replied
    Re: And so the teardown begins...

    Have somebody press the brake pedal before you pull the front brakes off and brake the axle bolt loose. It's easier than waiting until after the brakes are removed

    Did the parts pickup go okay, Dustin?

    Leave a comment:


  • All_Euro
    replied
    Re: And so the teardown begins...

    Now that the teardown A4 is out how about some pics of the buildup A4... muscle your way into the garage and do it up
    Last edited by All_Euro; 01-29-2011, 10:26 PM.

    Leave a comment:


  • RONDAL
    replied
    Re: And so the teardown begins...

    liquid wrench, heat, 4' breaker bar.
    i too did the screwdriver trick in the brakes.

    good mcguyver skills on that one

    Leave a comment:


  • R_Ethug
    replied
    Re: And so the teardown begins...

    hubs require alot of swearing/strength and a good breaker bar to pop the bolt out..plus it helps if its on the ground not lifted like that

    graeme did a screwdriver trick but you have no brakes so no go for that either

    Leave a comment:


  • PRY4SNO
    replied
    Re: And so the teardown begins...

    Timewarp bump!! Got busy with work then the holidays, and now I realize all the sudden that I'm in midterms and haven't updated my thread in forever!

    The car's gonzo so I figured I'd post up what I have left of pics.

    Couldn't have completed the part-out without the help of my friends and family, you know who you are. Thanks again!


    ^^^ Goddamn hubs are hard to remove... tips/tricks/suggestions for next time? I ended up just sending the front ones away since they're too fat for the CQ anyways.

    There are more kicking around since Photobucket missed a bunch in the batch upload. If I find some gooders that were missed they'll follow.

    Overall it was a lot of fun dismantling the car, got to see how it all goes together so (in theory) it should be a million times easier to retrofit the A4 when the garage opens up again. Really couldn't believe how hard it was to get the car hauled away once the engine/tranny/drive axles were removed. Even told one guy about the car and when he showed up with a flatdeck he refused because of no profit margin. So for anyone else in a similar situation, Cargon Auto is great to deal with here in Edmonton. Fast and friendly, he hauled it away free.
    Last edited by PRY4SNO; 01-29-2011, 12:01 AM.

    Leave a comment:


  • All_Euro
    replied
    Re: And so the teardown begins...

    Hey, what do you want for the side view mirrors? My limit's a Venti Americano - no room

    Leave a comment:


  • Shoppingcart111
    replied
    Re: And so the teardown begins...

    Thanks for the lights PRY4SNO and nice meeting you and Mikerus.

    Leave a comment:


  • R_Ethug
    replied
    Re: And so the teardown begins...

    awesome!

    Leave a comment:


  • Mikekrus
    replied
    Re: And so the teardown begins...

    Those pics are looking good man. Lol I thought for sure my finger was broken.

    Leave a comment:


  • PRY4SNO
    replied
    Re: And so the teardown begins...

    Week two:

    Quick update:

    Engine and transmission are out, and apart. Engine is on a stand. Valve cover and head gasket kits, 034 engine and trans. mounts (street density) and timing belt kit on order.

    Big props to Mike (Mikerus) for the help out again; from the rides, to advice on specific tools, and help with the knuckle busting. Which is a tremendous help. And word up to Chris Meyers for helping with the (unintended ) storage in his compound.

    Next up is to complete the mechanical part out on the parts car and then remove the interior before hauling away what's left (*nudge, *wink), likely to Black Gold in Nisku.


    The one thing that was holding up the show as far as pulling the engine and tranny together was concerned: the shifter assembly.


    In moments his little finger grew, twice the size or better!


    The exhaust was cut off with a grinder shortly thereafter.

    Stay tuned.
    Last edited by PRY4SNO; 11-30-2010, 02:42 PM.

    Leave a comment:


  • R-Audi
    replied
    Re: And so the teardown begins...

    Yeah, I was on Parkhill St....

    Leave a comment:


  • PRY4SNO
    replied
    Re: And so the teardown begins...

    Originally posted by R-Audi View Post
    Did you used to live in Calgary? I always saw your CQ on the street.... pretty noticeable with the PRY4SNO plate on it... not sure why I JUST put that together.
    Guilty, I've never had the space to give her the berth she deserves... 39A St?

    Leave a comment:

Working...
X